

I once watched a collector spend six thousand pounds on a stunning oil on canvas, 40cm x 40cm, 2022, only to watch him hang it nearly two feet above his mantelpiece like a misplaced afterthought. It was heartbreaking; he had bought a piece of soul, but he displayed it like a piece of cheap wallpaper. Most people think a “complete guide to hanging art” is just about finding a hammer and a level, but that is a fundamental misunderstanding. If you don’t understand how sightlines and spatial relationships dictate whether a piece looks like a masterpiece or a mistake, you aren’t really collecting; you’re just filling empty space.
In this guide, I’m going to strip away the pretension and give you the practicalities I learned while running my gallery. We aren’t going to talk about “vibe” or “energy”—we are going to talk about eye level, lighting, and the structural reality of your walls. I will show you how to curate your own home so that your acquisitions actually command the room they sit in, rather than shrinking into the background.
Guide Overview
Tools & Supplies
- Measuring tape for determining placement
- Pencil for marking wall spots
- Hammer for driving nails or hooks
- Level for ensuring straightness
- Drill for heavy frames or masonry
- Picture hanging kit (hooks and nails) 1 set
- Command strips (adhesive) 1 pack
- Wall anchors 1 pack
- Painter's tape 1 roll
Step-by-Step Instructions
- 1. First, stop looking at the floor and start looking at the eye level. In my twenty-six years of hanging shows, I have seen more mediocre collections ruined by being hung too high than by poor lighting. The standard rule of thumb is to place the center of the work at approximately 57 to 60 inches from the floor. This isn’t an arbitrary number; it is the museum standard designed to keep the viewer’s gaze natural. If you hang a piece too high, it looks like it’s floating away from the conversation; too low, and it feels like an afterthought.
- 2. Next, you must decide if the piece is a soloist or part of an ensemble. If you are hanging a single, significant canvas, give it room to breathe. Do not crowd it with furniture or other objects unless you are intentionally creating a salon-style hang. However, if you are grouping smaller works, treat them as a single visual unit. You want the gaps between the frames to be consistent—usually about two to three inches—so the eye perceives them as a cohesive statement rather than a cluttered mess.
- 3. Before you even touch a hammer, you need to map out your layout using painter’s tape or paper templates. I cannot stress this enough: measure twice, drill once. If you have a heavy, framed oil on canvas, you cannot rely on a cheap adhesive hook. You need to know the weight of the piece and ensure you are hitting a stud or using the correct heavy-duty anchors. There is nothing more unprofessional than a collector calling you because a three-thousand-pound painting has just plunged onto their hardwood floors.
- 4. Now, let’s talk about the hardware. Don’t just grab whatever is in the junk drawer. For a professional finish, use D-rings rather than simple wire if the piece is large. Wire can cause the painting to hang unevenly or “bow” in the middle, which looks cheap. D-rings allow for a much more stable, flush mount against the wall. If you want the piece to sit perfectly level, use two hanging points instead of one; it makes the work far less susceptible to tilting every time someone slams a door in the next room.
- 5. Once the work is up, step back—and I mean really step back. Walk to the other side of the room, or better yet, go into the hallway. You need to see how the piece interacts with the architecture and the light. Does it disappear into a dark corner? Does the glare from the window make it impossible to see the texture of the impasto? If the lighting is working against the work, you don’t necessarily need a new painting; you need a dedicated picture light or a strategically placed floor lamp to reclaim the visual narrative.
- 6. Finally, perform the “vibration test.” Give the wall a gentle knock or walk heavily near the piece. If it wobbles or shifts significantly, your mounting is inadequate. A well-hung piece should feel like it is part of the room’s bones, not something that is merely resting against it. When a work is mounted with intention, it commands the space; when it’s poorly hung, it’s just expensive wallpaper.
Mastering the Eye Level Hanging Rule for Professional Presence
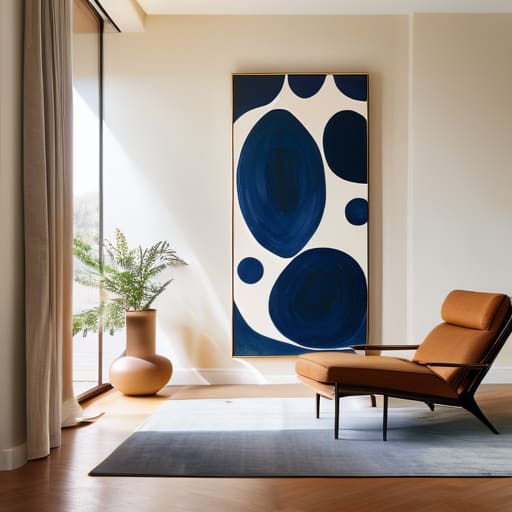
Most people hang art like they’re trying to avoid a conversation with it, shoving it too high just to get it out of the way. If you want a piece to actually command a room, you have to respect the eye level hanging rule. In the gallery world, we aim for the center of the work to sit roughly 57 to 60 inches from the floor. It sounds clinical, but it works because it places the soul of the piece where a viewer’s gaze naturally rests. If you’re working with a massive canvas, don’t panic; you aren’t aiming for the center of the frame, you’re aiming for the center of the visual weight.
When you’re measuring for art placement, don’t just eyeball it and hope for the best. Get a tape measure and a pencil. If you are dealing with anything heavier than a small sketch, please, for the love of all that is holy, stop relying on cheap nails. Invest in proper wall mounting hardware—drywall anchors or heavy-duty toggles—because nothing kills the professional presence of a beautiful work faster than it hanging crookedly or, heaven forbid, falling off the wall.
Choosing Wall Mounting Hardware That Doesnt Undermine Your Investment
Listen, I have seen more beautiful canvases ruined by a cheap, flimsy wire than by a bad brushstroke. If you are hanging a piece that cost more than your monthly rent, do not—under any circumstances—trust it to a piece of twine or a generic hook from a supermarket multipack. Using the wrong wall mounting hardware is the fastest way to signal to a collector that you don’t actually respect the object itself.
For heavy, substantial works, I always tell my artists to ditch the standard picture hanging wire vs hooks debate and go straight for D-rings and heavy-duty closed-eye hooks. Wire can actually pull a canvas out of its stretcher bar over time, causing it to bow or even crack. If you are dealing with anything larger than a standard landscape, you need to understand your drywall anchor types; a simple nail in plaster is a recipe for a very expensive mess on the floor. It isn’t just about keeping the art on the wall; it is about preserving the structural integrity of the work for the next person who owns it.
The Cost of a Bad Hang
You can spend a decade perfecting your technique and thousands on archival pigments, but if you hang a piece two feet too high or use a cheap wire that sags like a tired eyelid, you aren’t presenting art—you’re presenting a mistake. Presentation isn’t an afterthought; it is the final stage of the work itself, and if you treat it with laziness, the collector will treat your price tag with the same lack of respect.
Vivienne Ashworth-Pryce
The Final Polish
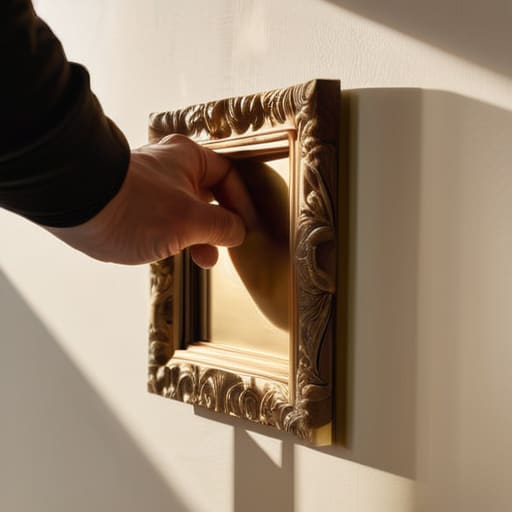
At the end of the day, hanging art is a trifecta of technical precision: you need the right hardware so you aren’t apologising for a sagging frame, the correct eye level so the viewer isn’t straining, and a sense of spatial awareness that respects the work. It isn’t about following a set of rigid museum dictates just for the sake of being “correct”; it is about ensuring that the physical presentation doesn’t become a distraction. If you get the lighting wrong or use a cheap nail that leaves a gaping hole, you aren’t just making a mistake—you are undermining the perceived value of the piece itself. Treat the installation with the same respect you gave the artist when you first fell in love with the work.
Remember, a wall is not just a surface to be covered; it is a stage. Whether you are hanging a three-thousand-pound oil painting or a small sketch you picked up from a local maker, you are the curator of your own environment. Don’t be afraid to move things around, to live with a placement for a day, and to adjust until it feels right. When you take the time to do this properly, you stop being someone who merely “decorates” a room and you become someone who curates a life. Now, get the hammer out and do it right.
Frequently Asked Questions
What do I do if the wall I want to use is textured or made of something other than standard drywall?
Oil on canvas, 40cm x 40cm, 2024. It’s a practical headache, but don’t let a difficult surface be an excuse for a botched installation. If you’re dealing with heavy plaster or masonry, stop reaching for those flimsy picture hooks; you’ll end up with a hole and a fallen masterpiece. Invest in proper masonry anchors or specialized toggle bolts. If the texture is the issue, ensure your hardware sits flush so the piece doesn’t look like it’s awkwardly hovering.
How do I decide whether to hang a piece as a solitary statement or as part of a larger gallery wall without it looking cluttered?
Oil on canvas, 40cm x 40cm, 2024. It’s a lovely piece, but it needs room to breathe. If the work is quiet—subtle textures, muted tones—give it a solitary stage. It demands respect. If it’s loud and busy, a gallery wall can actually anchor it. The trick to avoiding clutter isn’t about the number of pieces; it’s about the rhythm. Maintain consistent spacing. If the gaps are erratic, it looks like a yard sale, not a collection.
Is there a specific way to hang art in a room with high ceilings or sloped angles so it doesn't feel like it's floating away?
Oil on canvas, 40x30cm, 2024. It’s a common mistake to treat a high ceiling like an infinite void. If you hang a small piece too high, it looks like it’s lost its gravity. For high ceilings, think in groupings or larger scales to anchor the vertical space. With sloped angles, follow the pitch of the ceiling rather than fighting it. Don’t let the architecture dictate the art; make the art command the architecture.
