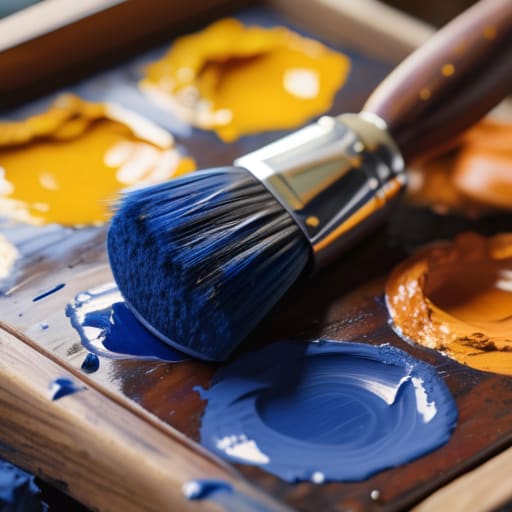

Most people will hand you a “complete guide to oil painting” that reads like a technical manual for a chemistry lab, filled with endless jargon about pigment density and drying times that won’t actually help you sell a single canvas. I spent twenty-six years watching young artists drown in the myth of complexity, believing they needed a thousand-pound kit and a degree in color theory before they were allowed to call themselves professionals. They spend years mastering the “perfect” glaze, only to realize they’ve painted something that sits awkwardly in a collector’s home because they ignored the fundamental relationship between the medium and the market.
I’m not here to teach you how to obsess over linseed oil ratios until your eyes bleed. Instead, I’m going to give you the unvarnished truth about what it actually takes to master this medium and, more importantly, how to make it work for you. We are going to strip away the pretension and focus on the practicalities of technique, the reality of material costs, and the commercial intuition you need to turn those strokes into something worth owning.
Essential Oil Painting Supplies You Actually Need
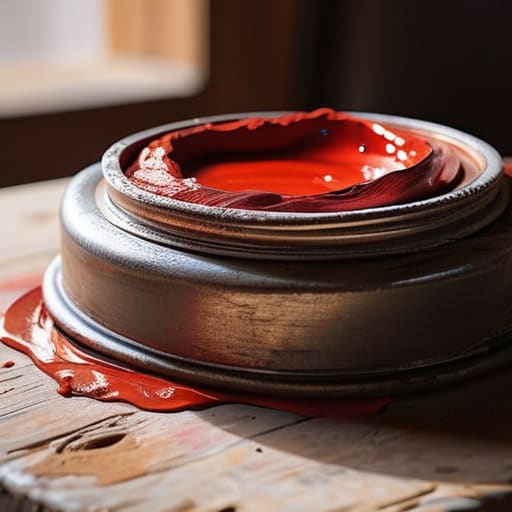
Look, I have seen too many young artists walk into a shop and come out spending four hundred pounds on a kit that is essentially decorative. You do not need every pigment in the spectrum to start; you need a manageable palette and tools that won’t fall apart mid-stroke. When discussing essential oil painting supplies, start with a decent heavy-body paint—don’t skimp here—and a handful of hog hair brushes for the heavy lifting. You can get away with cheap synthetic brushes for fine details, but if your brush is shedding hairs into your expensive cadmium red, you’ve wasted your money.
The real cost, however, isn’t in the pigment; it’s in the chemistry. If you want to avoid a cracked, ruined canvas six months after a sale, you must understand the fat over lean rule explained in any decent manual. This means you need to invest in a proper medium. I always tell my clients to keep a bottle of linseed oil and a bottle of odorless mineral spirits on hand. While some argue about linseed oil vs safflower oil for drying times, the truth is that consistency is what keeps your work professional. Don’t buy the “all-in-one” kits; buy what works.
Oil Painting Techniques for Beginners Avoiding Amateur Mistakes
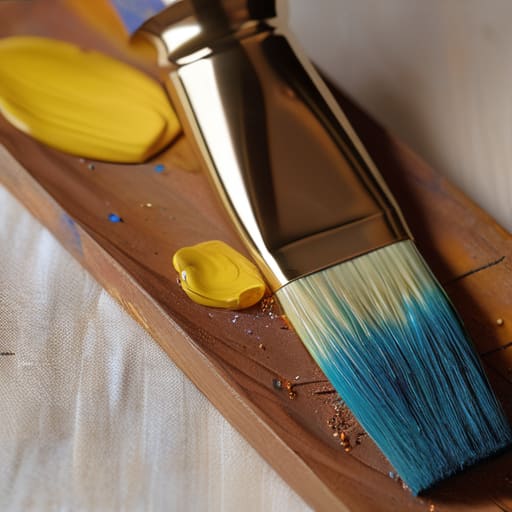
Listen, I have seen more “masterpieces” end up in the bin because the artist ignored the chemistry of their medium. Most beginners approach a canvas with the same enthusiasm they use for a weekend craft project, but oils are temperamental. If you don’t respect the fat over lean rule explained simply, you aren’t making art; you’re making a future crackle-filled disaster. You must layer your paint with increasing amounts of oil as you go. If you put a fast-drying, lean layer of turpentine-heavy paint over a slow-drying, oily layer, the surface will buckle and split within a year. No collector, no matter how much they love your subject matter, wants a painting that looks like a dried-out riverbed on their wall.
Another mistake is the obsession with instant perfection. You cannot rush oil paint drying times, and trying to force a blend before the layer beneath is set is a recipe for muddy, lifeless color. I’ve seen artists spend hours blending oil paint colors on the canvas only to realize they’ve actually just created a greyish sludge because they didn’t understand their drying windows. Start with an imprimatura technique—a thin, transparent wash of color—to kill the white of the canvas. It grounds the piece and gives you a tonal map to work from, rather than fighting a blank void.
The Cost of the Craft
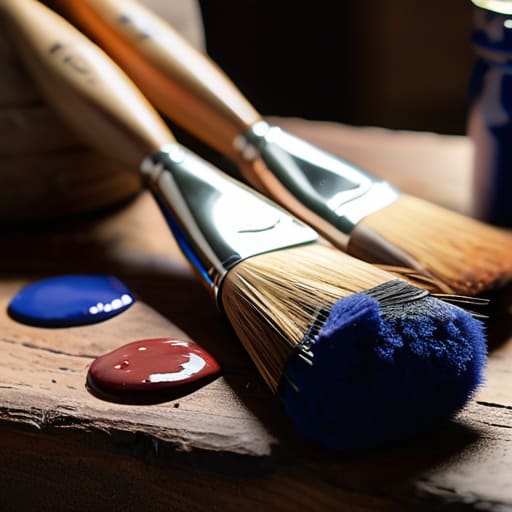
You can spend ten years mastering the perfect glazing technique, but if you don’t understand the chemistry of your pigments or the actual market value of the linen you’re stretching, you aren’t an artist with a career—you’re just an expensive hobbyist with a very messy studio.
Vivienne Ashworth-Pryce
The Reality of the Long Game
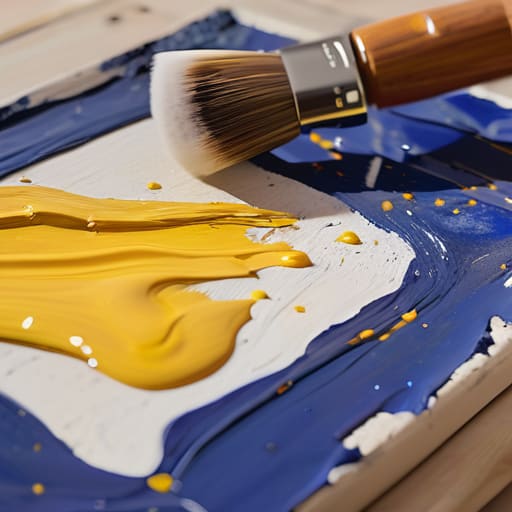
We have covered a lot of ground, from the specific chemistry of your solvents to the technical nuances of layering that prevent your work from looking like a muddy mess. You now know that a “complete guide” isn’t just about knowing which brush to pick up; it is about understanding the relationship between your materials, your technique, and the final physical object that will eventually sit in someone’s home. Don’t let the technicalities paralyze you. The goal isn’t to achieve technical perfection on day one, but to build a reliable foundation so that when you finally do decide to sell a piece, you aren’t embarrassed by the structural failures of your craft. Mastery is a slow, often frustrating process of eliminating amateur errors through sheer repetition.
At the end of the day, remember that the market—and the collectors I spent decades courting—can smell desperation and lack of discipline from a mile away. But they also fall in love with authenticity. Use these tools and these techniques not to mimic what is currently trending on Instagram, but to find a way of seeing that is uniquely yours. The technical side is just the plumbing; the art is what happens when the water flows. Stop worrying if you are “good enough” and just start making the work with the intention that it deserves to be seen. Now, get your hands dirty.
Frequently Asked Questions
I’ve mastered the technique, but how do I actually price these finished pieces so I don't undersell myself or price myself out of the local market?
Oil on canvas, 24×30, 2024. It’s a lovely piece, but your pricing is a mess. Stop guessing. You need a formula—usually a square-inch rate multiplied by a constant—to ensure consistency. If you price a small piece too low, you devalue your large ones; if you price too high for your local demographic, you’ll just end up with a dusty studio. Price for your costs and your time, then adjust for the room.
Once I have a decent body of work, how do I approach a gallery without looking like an amateur who doesn't understand the business side?
Oil on canvas, 24×36, 2024. I love the texture, but let’s talk about your pitch. Stop treating a gallery like a patron and start treating them like a business partner. Don’t just show up with a folder of pretty pictures; show up with a cohesive body of work, a clear price list, and a professional inventory. If you can’t tell me who your collector is or how you’re marketing yourself, I’m not wasting my time.
How much of my profit should I be reinvesting into high-end pigments and professional framing versus just keeping the lights on?
Oil, linen, 12×12, 2024. I love the question, because it’s where most artists bleed money. Don’t starve yourself to buy Cobalt Blue, but don’t present a masterpiece in a cardboard mount either. Reinvest roughly thirty percent of your net into “presentation and permanence”—that’s your pigments and your frames. A collector isn’t just buying your vision; they’re buying an object that won’t fade or warp in five years. Keep the rest for rent.
