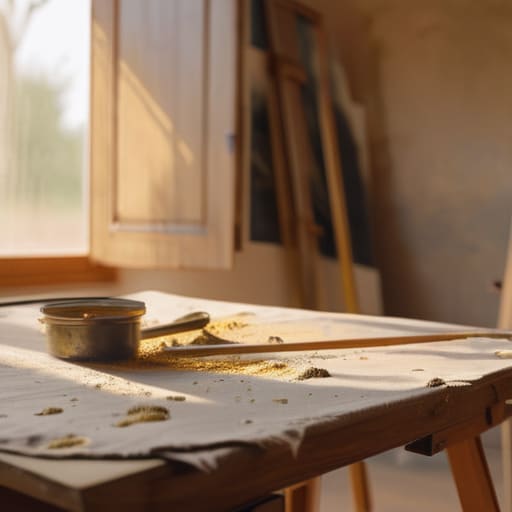

I once watched a young landscape painter—talented, dear, but utterly terrified of the final stages—spend three hours hovering over a canvas like it was a surgical patient, only to apply a coat of gloss so uneven it looked like spilled syrup. He thought he was “protecting” the work, but he was actually destroying the market value of a piece that should have gone straight to a collector. Most artists treat the final layer as an afterthought or a terrifying mystery, but if you don’t master how to varnish a finished painting, you are essentially leaving your profit margins to chance. A bad varnish job isn’t just an aesthetic failure; it is a professional liability that tells a buyer you don’t quite know how to finish what you started.
I’m not going to give you a lecture on the chemical molecular structure of resins, because frankly, unless you’re running a lab, you don’t need it. Instead, I am going to tell you exactly how to handle this stage so you can stop sweating and start selling. We are going to cover the practicalities of timing, the specific tools that won’t leave you with unsightly brushstrokes, and how to choose a finish that actually enhances your colors rather than masking them.
Guide Overview
Tools & Supplies
- Soft wide brush (synthetic for water-based or natural for oil-based)
- Microfiber cloth (for dust removal)
- Level (to ensure even application)
- Varnish (1 bottle/can suitable for your medium)
- Dusting brush (1 piece)
- Painter's tape (1 roll)
Step-by-Step Instructions
- 1. First, you must ensure the painting is absolutely, undeniably bone dry. I have seen far too many young artists rush this because they have a deadline or a collector breathing down their necks, only to have the varnish cloud over or trap moisture beneath the surface weeks later. If you are working in oils, give it months, not weeks; if it’s acrylic, ensure it has cured fully. If you apply a film over a surface that is still “breathing,” you aren’t protecting the work, you are sealing in a disaster that will eventually devalue the piece.
- 2. Clean the surface with the kind of precision you would use to prepare a room for a high-end exhibition. Use a soft, lint-free cloth or a gentle brush to whisk away every single speck of dust or stray hair. A single microscopic piece of grit trapped under a gloss varnish will catch the light in a gallery and make the entire work look unprofessional and amateurish. You want the surface to be as pristine as a blank canvas before you even begin.
- 3. Set up your workspace to minimize environmental interference. Close the windows to avoid dust storms and turn off any fans that might blow debris onto your wet work. You want a stable, temperate environment; if it is too humid, the varnish will bloom, and if it is too dry, it might crack. Think of it like preparing a stage—if the conditions aren’t controlled, the performance will suffer.
- 4. When you finally pick up the brush or the spray, less is almost always more. If you are using a brush, use a high-quality, wide, soft brush and apply the varnish in long, even strokes without going back over the same spot repeatedly. Going back over a section that has already begun to “tack” is the fastest way to create permanent streaks and marks that no amount of scrubbing will fix.
- 5. If you are using a spray varnish, this is where most people fail by being too timid or too aggressive. Hold the can at the correct distance—usually about 12 inches—and use a steady, sweeping motion that mimics the way you’d paint a wide stroke. Never aim the spray directly at one spot for more than a fraction of a second, or you will end up with a drip, and a drip on a finished piece is a nightmare to remediate without ruining the underlying pigment.
- 6. Apply your coats in thin, deliberate layers rather than trying to achieve the desired sheen in one go. It is much better to apply three whisper-thin coats than one thick, gloopy layer that risks running or uneven drying. Wait for each layer to dry completely according to the manufacturer’s instructions before moving to the next. This patience is what separates a serious professional from a hobbyist.
- 7. Once the final coat is dry, resist the urge to touch it or inspect it under a magnifying glass immediately. Let it cure in a dust-free area for at least 24 to 48 hours before you even consider moving it or attempting to frame it. You are building a protective shield for your investment, and that shield needs time to harden properly before it faces the rigors of transport and hanging.
Choosing Your Gloss vs Matte Varnish to Control Perception
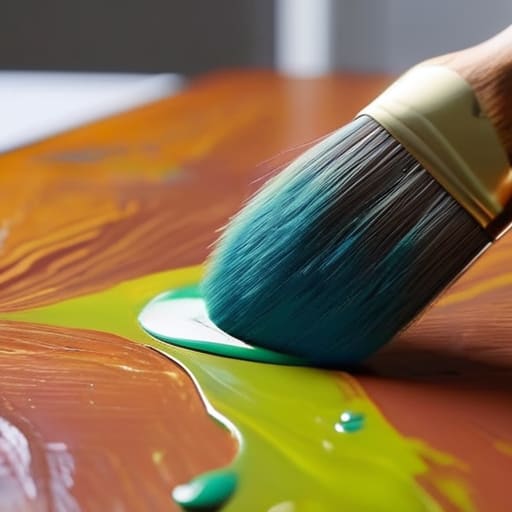
Now, let’s talk about the psychology of the finish, because this is where many artists make a tactical error. When you are deciding between gloss vs matte varnish, you aren’t just choosing a shine level; you are choosing how the collector’s eye interacts with your surface. A high gloss can make colors pop and create a sense of depth that feels luxurious, but if your brushwork is heavy or uneven, it will act like a spotlight on every single imperfection. Conversely, a matte finish is much more forgiving, but if applied poorly, it can make a vibrant piece look dusty or “dead.”
I’ve seen too many young artists slap on a heavy gloss because they want that “museum look,” only to realize they’ve highlighted every wobble in their composition. If you are working with an acrylic painting protective coating, remember that the finish dictates the perceived value. A satin finish is often the professional middle ground—it provides the richness of a gloss without the aggressive glare that makes a collector struggle to see the work under their own living room lights. Choose your finish based on the intent of the texture, not just what looks pretty in your studio.
Preventing Brush Strokes in Varnish to Protect Your Market Price
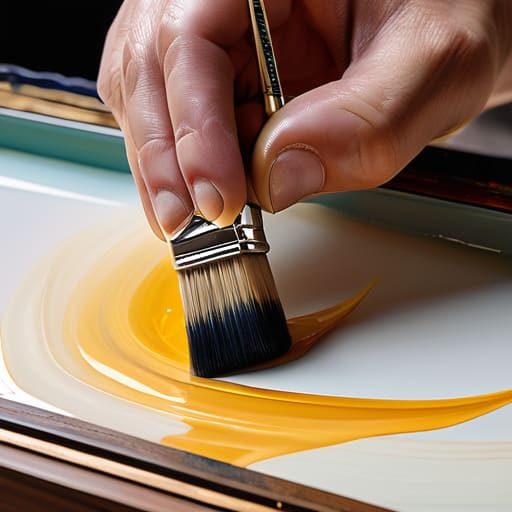
Listen, I have seen far too many promising pieces devalued simply because the artist rushed the final stage. You can spend months perfecting your composition, but if you leave visible ridges or “tracks” in the finish, a serious collector is going to see a lack of professionalism rather than a deliberate texture. Preventing brush strokes in varnish isn’t just about aesthetics; it is about protecting the perceived value of the work. If a buyer sees uneven pooling or heavy bristles marks, they aren’t thinking about your soul—they are thinking about why they are paying three thousand pounds for something that looks amateurish.
The trick is to stop treating the varnish like paint. Whether you are working with an acrylic painting protective coating or a traditional resin, you must use a wide, high-quality soft brush or, better yet, a lint-free applicator. Work in thin, even passes and, most importantly, do not go back over a section once it has begun to set. If you try to “fix” a drip five minutes too late, you’ll create a permanent scar that no amount of clever framing can hide. Slow down. The market rewards precision, not haste.
The Final Layer of Professionalism
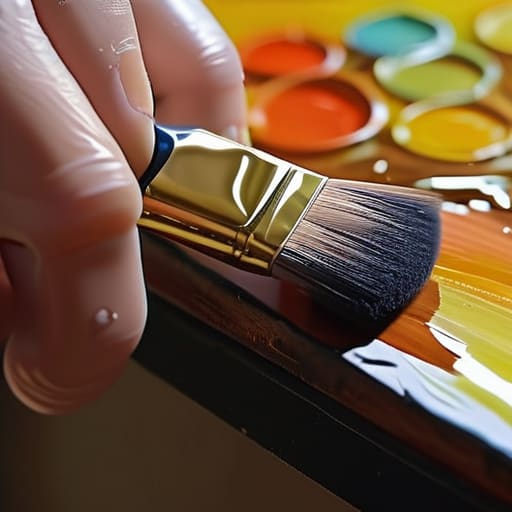
You can spend three months perfecting a composition, but if you slap on a tacky, uneven varnish job at the last minute, you haven’t just ruined a painting; you’ve signaled to a collector that you don’t respect your own work—and they certainly won’t pay a premium for that kind of carelessness.
Vivienne Ashworth-Pryce
The Final Layer
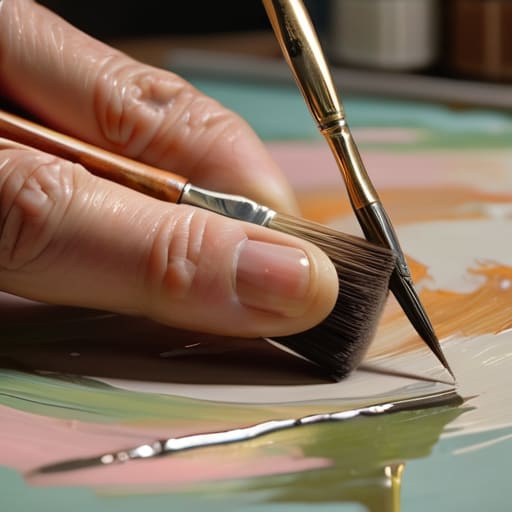
At the end of the day, varnishing isn’t just a technical checkbox; it is the final act of stewardship over your labor. You’ve spent weeks, perhaps months, wrestling with color theory and composition, so do not let a dusty, uneven, or poorly chosen finish undermine your entire investment. Whether you opt for a high-gloss to make those pigments pop or a sophisticated matte to keep the viewer focused on the texture, remember that your choice dictates how the light hits the work in a collector’s home. Avoid the temptation to rush this stage just to get a piece out the door. A professional finish ensures that your market value remains intact and that the physical integrity of the painting matches the intellectual depth of the concept.
I have seen far too many talented artists lose a sale because a piece looked “unfinished” or “cheap” under gallery lighting, simply because they neglected this final step. Treat your varnish with the same respect you treat your primary medium. When you do this right, you aren’t just protecting a surface; you are signaling to the buyer that you are a professional who understands the long-term value of art. Go ahead, take the time to get it perfect. You’ve earned the right to present your work to the world in its absolute best light.
Frequently Asked Questions
Is it a disaster if I realize I’ve applied the varnish unevenly, or can I actually fix it without starting the whole painting over?
Oil on canvas, 40cm x 50cm, 2024. Take a breath. It isn’t a disaster, but it is a crisis of professionalism. If the varnish is still wet, you might save it with a soft, wide brush and a steady hand, but if it’s tacky or dry, you cannot simply “patch” it. You’ll end up with a topographical map of mistakes. You must strip it back carefully and start the coating again. Protect your reputation; don’t ship a blotchy surface.
How long do I really need to wait after the final layer of paint is dry before I risk touching it with a varnish?
Oil on canvas, 24×30, 2024. If you rush this, you’re asking for a disaster. You might see a dry surface in a week, but that’s a lie. If you varnish before the oil has fully oxidized and “settled,” you’ll trap solvents underneath, leading to cracking or, worse, a cloudy film that ruins the saturation. For professional-grade work, wait six months to a year. If you’re using acrylics, you can be more aggressive, but patience is cheaper than a ruined sale.
If I’m planning to sell this piece to a serious collector, should I be using a removable varnish or is a permanent one standard?
Oil on canvas, 30×40, 2024. If you’re talking to a serious collector, you use a removable varnish. Period. A permanent varnish is a gamble that leaves no room for error; if it yellows or gets scratched, the work is effectively ruined for resale. Removable varnish is a professional courtesy. It tells the collector that the work is archival and that, decades from now, a conservator can clean it without destroying your soul.
