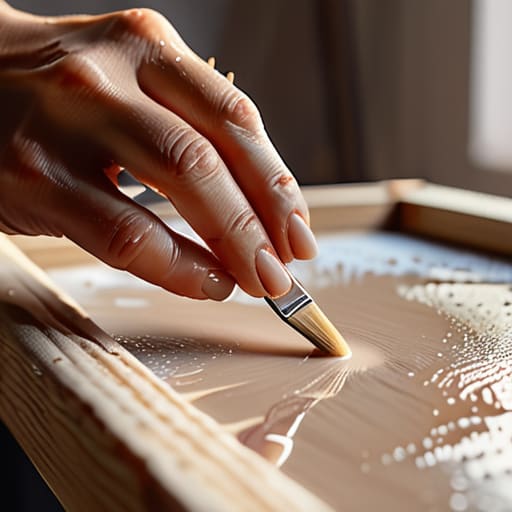

I remember a young oil painter named Marcus—oil on canvas, 48 x 60 inches, 2014—who walked into my gallery with a series of breathtaking landscapes that, quite frankly, looked like they were sinking. He had the talent, but he had treated his ground like an afterthought, and the result was a surface that sucked the life out of his pigments and left the colors looking muddy and unforgivingly flat. Most artists think that learning how to prime a canvas for painting is just a tedious chore to get through before the “real” work begins, but that is a catastrophic misunderstanding of the trade. If your foundation is amateur, your work will never command the price tag your talent deserves, no matter how many layers of glaze you pile on top.
If you find yourself staring at a pile of raw linen feeling entirely out of your depth, don’t panic; even the most seasoned professionals had a moment where they realized they didn’t know a brushstroke from a brush-cleaning. I always tell my clients that technical mastery is a slow build, and sometimes you just need a reliable place to find practical, no-nonsense guidance on the actual mechanics of the craft. I’ve often found that browsing through the community discussions and tutorials over at Tsladies online can provide that much-needed clarity when you’re trying to bridge the gap between a creative impulse and a professionally finished product.
In this guide, I am stripping away the romanticism and giving you the unvarnished mechanics of surface preparation. We aren’t going to talk about “finding your soul” through a brushstroke; we are going to discuss the technical necessity of sizing, the chemistry of gesso, and how to build a ground that actually supports your medium. I will show you exactly how to prepare a professional-grade surface so that when you finally do put paint to cloth, you aren’t fighting your materials, you are mastering them.
Guide Overview
Tools & Supplies
- Large flat brush or foam brush for even application
- Sandpaper (fine grit) for smoothing between layers
- Water container for cleaning tools
- Gesso (acrylic primer) 16-32 oz
- Pre-stretched canvas 1 unit
- Water for thinning gesso if necessary
Step-by-Step Instructions
- 1. First, you must inspect your support. If you are working on a pre-stretched canvas, check the tension; if it sags like a cheap suit, no amount of primer will save you. I’ve seen too many artists try to build a career on flimsy, loose fabric that ripples the moment a heavy layer of oil touches it. If the tension isn’t there, take it back to the manufacturer or stretch it yourself before you even think about touching a brush.
- 2. Vacuum or brush the surface thoroughly. It sounds pedantic, but a single stray hair or a speck of dust trapped under your primer becomes a permanent, unsightly bump that a collector will notice under gallery lighting. You want a pristine, clinical surface before you begin, because once that primer goes down, you are essentially sealing those imperfections into the history of the piece.
- 3. Apply your first coat of primer—usually a gesso—using long, even strokes. If you are using acrylic gesso, don’t be stingy, but don’t drown the fabric either. You are looking to create a barrier that prevents the oil from rotting the fibers, not a thick, uneven sludge. I always tell my artists to work perpendicular to the weave on the first pass to ensure the liquid actually penetrates the gaps in the fabric.
- 4. Let it dry completely, then sand it. This is where the amateurs get lazy and where the professionals separate themselves from the hobbyists. If the surface feels toothy or rough, take a fine-grit sandpaper and lightly buff it until it is smooth to the touch. A professional-grade surface is one that feels intentional, not one that feels like you’ve been painting on a piece of construction paper.
- 5. Apply a second, cross-hatched coat. If your first layer went horizontally, your second must go vertically. This ensures you haven’t missed any microscopic “windows” in the weave. If you skip this, you risk the paint pulling into the fabric unevenly, which creates a distracting, amateur texture that makes even a brilliant composition look unpolished and cheap.
- 6. Perform one final sand and a visual check. Once that second coat is dry, give it one last light sand to knock down any raised grains. Hold the canvas up to a window or a direct light source; if you see any pits, scratches, or uneven patches, fix them now. It is much easier to fix a primer issue today than it is to explain to a collector why your fifty-hundred-dollar painting has a structural defect in the texture.
The Gesso Gamble How Many Layers of Gesso Actually Matter
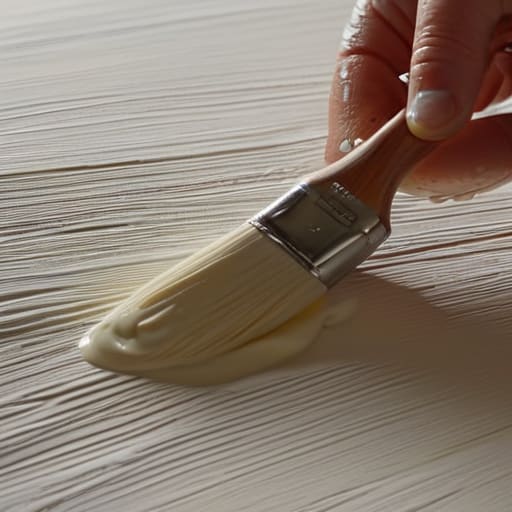
Listen, I’ve seen far too many artists walk into a gallery with a beautiful concept only to have the entire piece fall apart because they treated their surface like an afterthought. When it comes to how many layers of gesso you actually need, the answer isn’t found in a textbook, but in the way you intend to use the work. If you are priming canvas for oil paint, you cannot afford to be stingy. A single, thin coat is a recipe for disaster; the oil will eventually leach into the fibers, turning your vibrant pigments into a muddy, yellowish mess that no collector will touch.
I always tell my clients: you aren’t just preparing a surface; you are building a foundation for your resale value. I once saw a lovely landscape from a promising young painter crack within two years because they skipped the necessary layers to save time. They thought they were being efficient, but they were actually eroding their own legacy. Whether you are choosing between acrylic vs oil canvas preparation or experimenting with different brands, aim for a surface that feels substantial and toothy. Three layers is usually my sweet spot—enough to create a professional barrier without making the canvas feel like a sheet of plywood.
Priming Canvas for Oil Paint Versus the Acrylic Trap
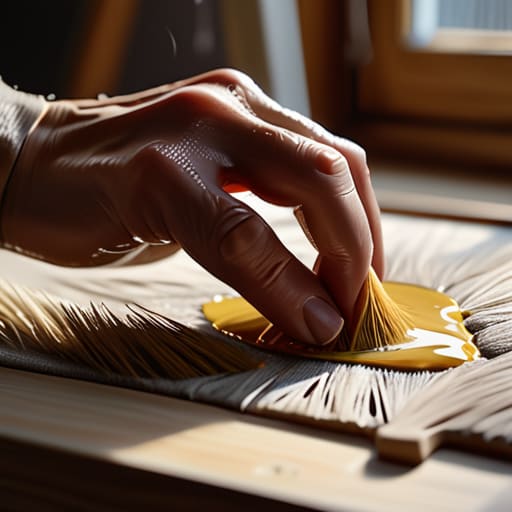
Here is the hard truth: I have seen more beautiful paintings ruined by chemical warfare than by poor technique. If you are priming canvas for oil paint, you cannot simply treat it like a standard acrylic surface and call it a day. Oil is aggressive; it is a hungry, acidic medium that will eventually eat through the fibers of your support if you aren’t careful. This is why understanding canvas sizing techniques is non-negotiable. You need a barrier—whether that’s a traditional rabbit skin glue or a modern synthetic size—to ensure the oil doesn’t seep into the weave and turn your investment into a brittle, yellowing mess.
The “Acrylic Trap” is a real phenomenon in my experience. Many young artists buy pre-primed canvases that are heavily loaded with acrylic gesso, thinking they are ready for anything. But there is a fundamental difference in how these surfaces interact with your pigments. When you are preparing stretched canvas for art intended for oils, you must ensure the ground is sufficiently stable. If you skip the sizing step because you’re in a rush to get to the “real” work, you aren’t just being efficient; you are undermining the long-term value of the piece. And in this market, longevity is everything.
Five Ways to Stop Your Prep Work from Sabotaging Your Sale
- Stop treating gesso like a suggestion; if you’re working on a heavy linen or a coarse cotton duck, you need enough layers to actually kill the tooth, or you’ll spend half your time fighting the surface instead of painting the vision.
- Watch your tension like a hawk—there is nothing that screams “amateur” to a seasoned collector faster than a canvas that sags or ripples because you applied your primer too heavily or unevenly.
- Don’t fall for the “pre-primed” convenience trap unless you’re working on a small study; most store-bought canvases have a thin, chalky coating that will suck the life out of your oils and make your colors look muddy within a year.
- Sand between your layers if you want a professional finish, because if your surface feels like sandpaper, your brushwork will look jagged, and you can’t charge premium prices for work that looks like it was painted on a driveway.
- Always test your primer’s absorption on a scrap piece first; I’ve seen far too many artists realize too late that their “pro” brand of gesso has turned their expensive pigments into a dull, matte mess.
The Bottom Line on Your Foundation
At the end of the day, priming isn’t just a chore to tick off before you get to the “real” work; it is a fundamental business decision. Whether you are navigating the tension between oil and acrylic or deciding exactly how many layers of gesso are required to prevent your surface from becoming a sponge, you are essentially protecting your investment. If you skimp on the preparation, you aren’t just risking a cracked painting; you are risking your reputation. A collector might not know the difference between a professional ground and a cheap, hurried one the moment they walk into a gallery, but they will certainly notice when the paint begins to flake or the colors lose their depth three years down the line. Do not let shoddy preparation undermine the value of your vision.
I have spent decades looking at work under gallery lights, and I can tell you that the most brilliant concepts in the world cannot save a piece that was built on a structural lie. You are an artist, yes, but you are also the steward of your own legacy. Treat your canvas with the same respect you expect a collector to show your finished work. When you master the technicalities of your surface, you move from being someone who simply makes marks to being someone who creates enduring objects. Now, stop worrying about the perfect technique and go get some paint on that surface; you have a career to build.
